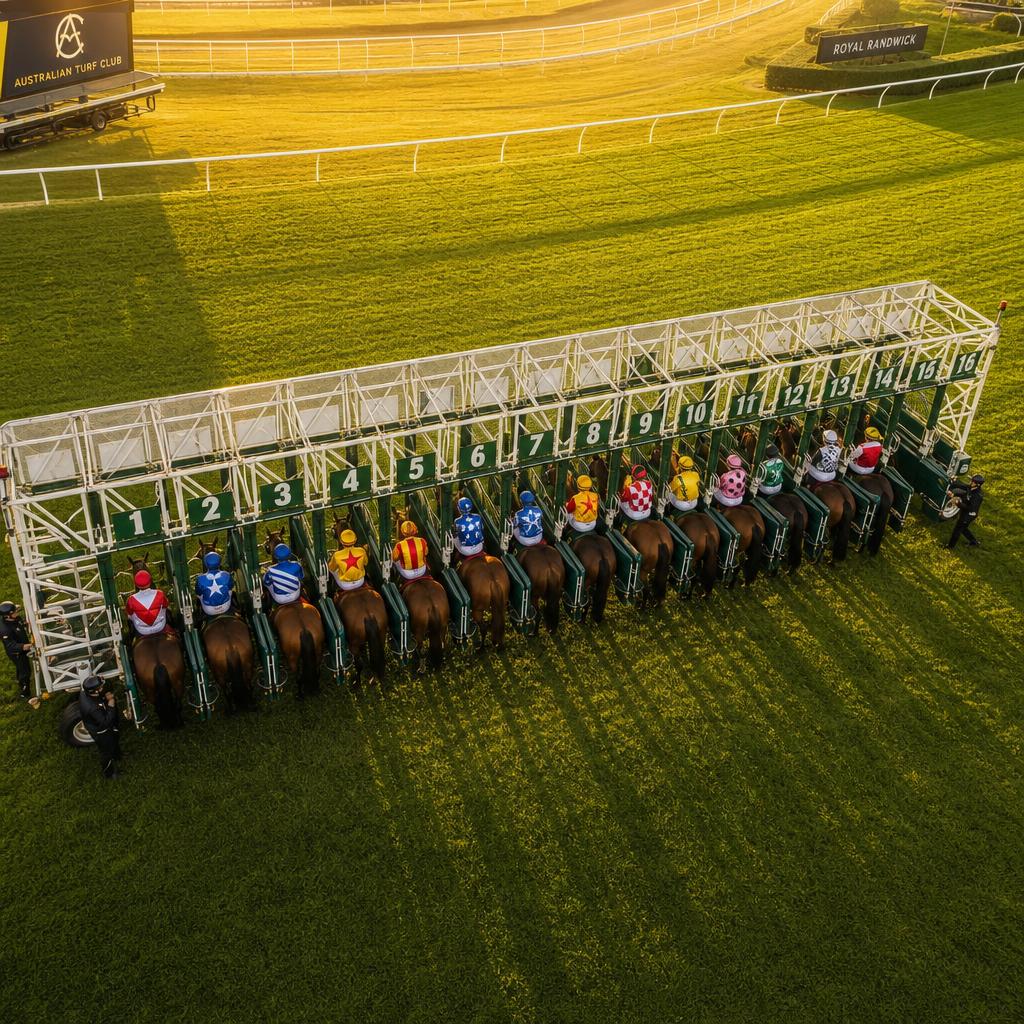
Analyzing the impact of recent form and draw on a horse's chances of winning.
Two of the most powerful predictors in Australian horse racing are recent form and barrier position. Used together, they can cut a field down to a manageable shortlist before you even look at the odds. Here's how to read both correctly.
Last 3
Starts that carry the most predictive weight
Barrier 1–4
Shortest path on most Australian tracks
15–20%
Typical win rate advantage for inside draws at 1200m or less
Reading Form Correctly
A horse's finishing position tells you only part of the story. A third-place finish in a Group 1 at Flemington is vastly more impressive than a win in a maiden at a country track. When reading form, Racing Ready's engine normalises for class, weight carried, track condition, and distance - giving you a true apples-to-apples comparison.
Distance Suitability
Horses have a natural optimal distance range based on their breeding and physiology. A sprinter forced out to 2000m or a stayer dropping back to 1000m will almost always underperform their raw ability. Always cross-reference a horse's best runs with today's distance.
Class Rating
Class is the most underrated factor in form analysis. A horse winning from a BM64 into a BM78 is stepping up significantly. Racing Ready's class normalisation flags these jumps automatically so you're not fooled by superficially impressive recent placings.
Barrier Position: The Draw
The barrier draw determines where a horse begins the race and has an outsized influence on shorter-distance events. The impact varies by track, distance, and race day going.
Barriers 1–4 (Inside): Best for on-pace horses at distances up to 1400m. Horse travels shortest rail path.
Barriers 5–9 (Middle): Versatile. Suits hold-up runners who need room to accelerate.
Barriers 10+ (Wide): Requires a horse to work hard early to cross or park wide - costly at sprint distances. Can suit backmarkers at 1600m+.
Track Bias: The Hidden Variable
Some tracks exhibit a measurable bias on certain days, favouring leaders or horses running close to the rail. This is caused by track preparation, rail position, and going conditions. At Randwick on a Heavy 8, for example, the inside rail is often advantageous because the middle of the track is slower.
Always check the early races on the day to establish whether there's a bias running. If the first three races are all won by leaders from inside barriers, weight your barrier analysis accordingly for the rest of the day.
Frequently Asked Questions
Does barrier position matter in all Australian races?
It matters most in sprint races (1000m–1400m) and at tight, turning tracks. At larger tracks like Flemington and in staying races (2000m+), the barrier draw has less impact because horses have time to find their position.
What does 'class' mean in racing form?
Class refers to the grade or condition of the race, typically defined by the prize money, weight-for-age conditions, or a BM (Benchmark) rating. Higher class races attract stronger, faster horses.
How does Racing Ready factor in barrier position?
Our model uses historical win rates by barrier position at each specific track and distance combination, then weights them based on the current field's running styles - not just a blanket inside-is-good rule.